
Easy Rainbow Earrings with Liquid Sculpey
Discovering new (to me) craft products that I love is always like opening presents on Christmas Day. I was recently introduced to Liquid Sculpey® and now I am hooked! It can be custom tinted with any type of permanent dye, so these quick and easy Rainbow Earrings with Liquid Sculpey are the perfect personalized gift idea!
Quick and Easy Rainbow Earrings with Liquid Sculpey
This post, Easy Rainbow Earrings with Liquid Sculpey, contains affiliate links. Using links to these sites means I will earn a percentage of the purchase at no extra cost to you.
Here's what you need to make Rainbow Earrings:
- Liquid Sculpey® Pearl – 2 oz. bottle
- Sculpey Tools™ Oven-Safe Work Mat
- Sculpey Tools™ Oven-Safe Molds – Jewelry
- Stamp Pad Pigment Reinkers – Rainbow Colors
- Mini Measure Cups – Dollar Tree
- Wooden Craft Sticks – Dollar Tree
- Baking Sheet – Dollar Tree
- Oven (mine is electric)
- Jump Rings – two
- Earring Hooks – two
- Needlenose Pliers
Here's how to create Hoop Earrings with Liquid Sculpey:
STEP ONE
To begin easy Rainbow Earrings with Liquid Sculpey, gather all supplies. Read instructions on the Liquid Sculpey® Pearl and Oven Safe Molds packaging before proceeding. Pre-heat oven to 275 degrees. Place seven mini-measure cups on the work surface, twist the Liquid Sculpey Pearl spout open, and add a small amount to each cup. I counted to six while squeezing.


STEP TWO
Using stamp pad reinkers in rainbow colors, squeeze three to four drops of ink into each cup of Liquid Sculpey Pearl. Mix colors thoroughly with a wooden craft stick. Liquid Sculpey can be colored with any permanent dye, like alcohol ink, stamp pad reinkers, acrylic paint, chalk pastels, or even liquid food coloring. Test out each method prior to creating your project. I used stamp pad reinkers because I had them on hand.


STEP THREE
Place the Oven-Safe Work Mat on a baking sheet, and place the Oven Safe Jewelry Mold on top. Pre-heat mold in the oven according to package directions. Pick up some of the tinted Liquid Sculpey with the wooden craft stick and place several drops of each color, around the earring mold, in rainbow order. I love the free-form look of the drops of color. Twist open the Liquid Sculpey Pearl spout and carefully squeeze into the earring mold until full. Make sure that the peg for the hole at the top of the earring mold is free of any Liquid Sculpey. Tap the mold gently on the baking sheet to move any bubbles to the surface, then pop with a toothpick.


STEP FOUR
Bake the Jewelry Mold in the oven according to the directions on the package. My oven is electric, but if yours is gass, do a test bake first. Remove from the oven, allow to cool, and then carefully remove the finished earring from the Jewelry Mold. This mold only has one of these fun hoop-style earrings, so repeat the above steps to create a second earring.


STEP FIVE
Open a jump ring with needle-nose pliers and thread through the hole at the top of the earring. Add the earring hook and then close the jump ring. Repeat with the second earring. DONE!


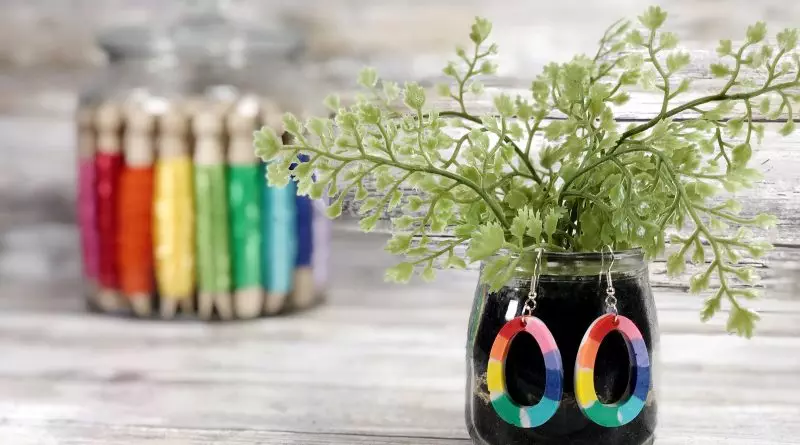
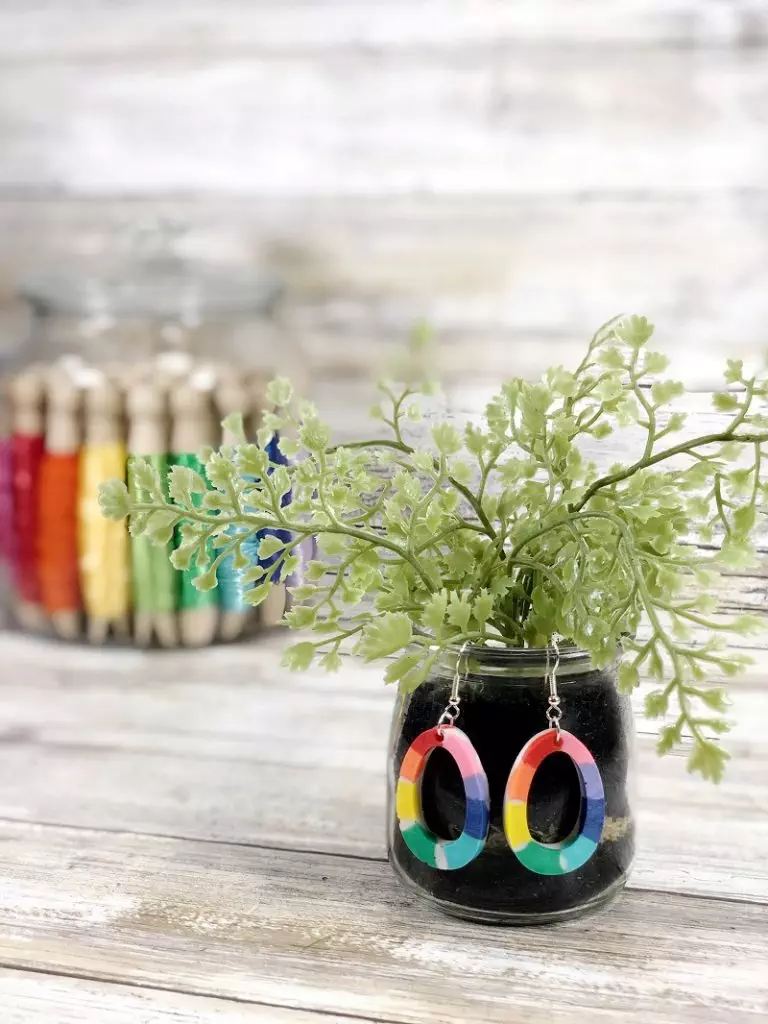
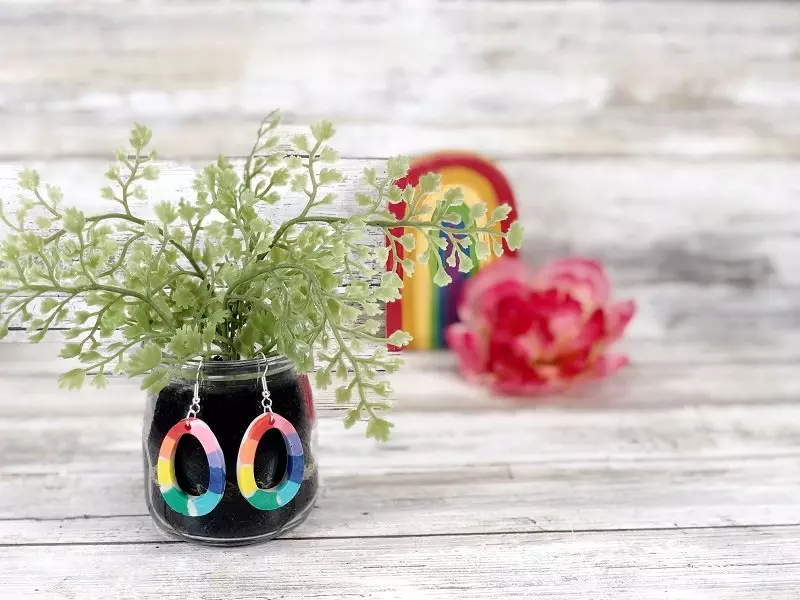
Liquid Sculpey Rainbow Hoop Earrings
I spent an afternoon experimenting with Liquid Sculpey and now I am seriously hooked. It is a quick and easy craft medium that has a TON of creative possibilities and applications. My Rainbow Earrings with Liquid Sculpey takes only 30 minutes to make from start to finish.

Mixing the rainbow colors of Liquid Sculpey Pearl was super easy and I have extra to make a few more projects, so check back with me for more. I also tinted the Liquid Sculpey with alcohol inks, but they were runnier than with the stamp pad reinkers. The shimmer and sparkle of the pearl shows through, giving these earrings a totally upscale look.

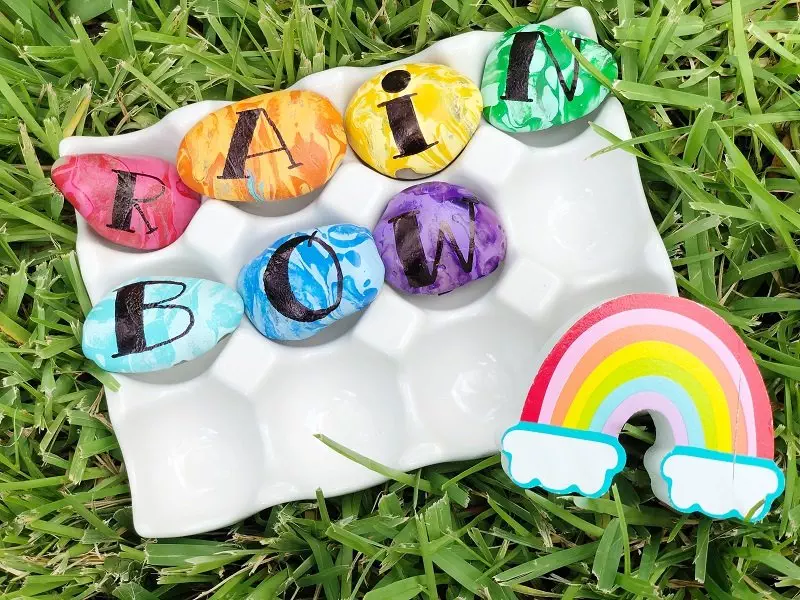
Rainbows are my JAM, so here are a few more I know that you will LOVE! UNICORN SPiT® Rainbow Bowl Stained with Sparkling Shine. Create Paint Pour Rainbow Rocks in just 15 Minutes with DecoArt. Upcycled Rainbow Scrap Wreath with Earth-Friendly Kunin Felt.


Too busy to make this right now? Pin it for later! I'd love for you to pin this project to your favorite craft board on Pinterest and then it’ll be waiting for you when you’re ready.

Thanks for stopping by!

These are so pretty! I haven’t tried liquid sculpey before, but it looks like I need to get some!
Yes, you should Alexandra! So much easier than it looks and FUN too!
Quedan muy bonitos y alegres.
Thank you Lirtea! They were easy too!
How cute, Beth! I haven’t worked with sculpey before but I like how these turned out! Thanks for sharing at Vintage Charm!
The Liquid Sculpey is SUPER EASY, Cecilia! Just tint, pour in the mold and bake!
Thanks for sharing with us, I’m featuring you this week when the next To Grandma’s house we go link party starts!
Thank you Tarahlynn for the feature – YAY!!
Wow – I have never even heard of this but love it already. I am going to be checking out this product this summer for sure. Thanks for sharing it with us! #HomeMattersParty
Thanks, Donna – YES! It’s super fun and super easy!
These are wonderful! So bright and perfect for Summer or anytime. I’m featuring when my link party opens tonight!
Thanks a BUNCH, Carol! Yes, and they match ALL my outfits!
Wow, this product looks so interesting! It’s new to me as well. Thanks for sharing it with us on Traffic Jam Weekend on LifeasaLEOWife.com. We will be back from hiatus this Thursday, July 28, and I hope that you will share your posts with us again!
What darling earrings – and so easy!
THANKS Susie!!