
Polymer Clay Embellished Home Decor
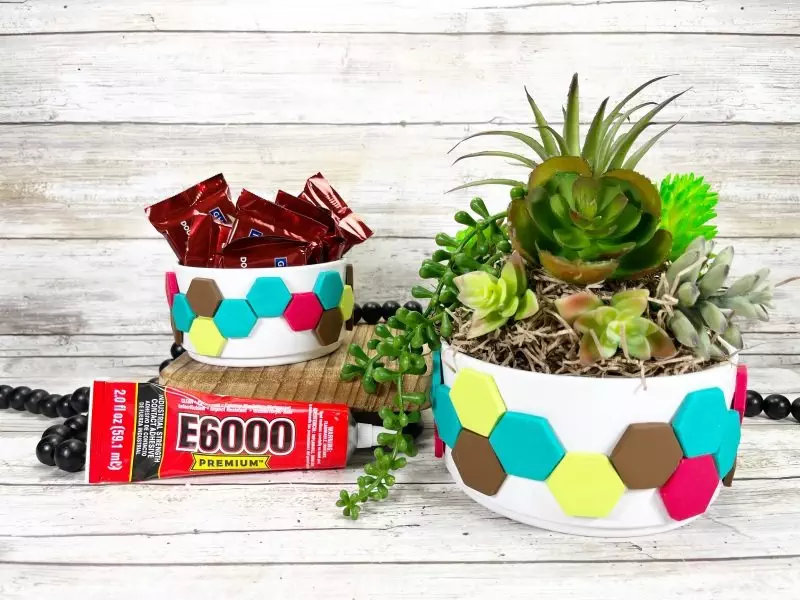
Learn how to make plain containers look high-end with this Polymer Clay Embellished Home Decor tutorial. The secret is E6000 PREMIUM Adhesive which bonds all types of plastics to almost any other surface. Create custom containers with a personalized selection of polymer clay colors and shapes to make a one-of-a-kind piece of home decor or the perfect gift.
Embellish Home Decor with Polymer Clay
This post, Polymer Clay Embellished Home Decor, contains affiliate links. Using links to these sites means I will earn a percentage of the purchase at no extra cost to you.

Here's what you need to make Custom Plastic Containers:
- E6000 PREMIUM Adhesive
- Polymer Clay – Sculpey III
- Polymer Clay Cutters
- Polymer Clay Baking Mat
- Polymer Clay Roller
- Plastic Cereal Bowl and Serving Dish – Target
- Wooden Skewers – Two
- Baking Sheet
- Parchment Paper
- Oven
- Wrapped Candy and Faux Plants

About E6000 PREMIUM Adhesive
E6000 PREMIUM forms a permanent bond to the most difficult items such as most plastics used in 3D printing, PVC, acrylics, polystyrene, fiberglass, and more while also providing a superior bond to other materials such as wood, metal, fabric, ceramic, glass, cement, clay, and more! Its unique formula is the perfect adhesive for hobbies and crafts, home improvement and DIY projects, auto repairs, industrial applications and so much more! E6000 PREMIUM is extremely flexible, withstands extreme temperatures, is waterproof, dries clear, and is paintable.

Here's how to create
STEP ONE
Using wooden skewers to control thickness, roll out polymer clay in the colors of your choice. Cut the clay into hexagons with a polymer clay cutter in the shape of your choice. Remove the cutout hexagon shapes, roll the polymer clay out again, and cut out another set of hexagon shapes. These hexagon cutters come is a set of two, one larger and one smaller.


STEP TWO
Transfer the large and small polymer clay tiles to a parchment-lined baking sheet and bake in a 275-degree pre-heated oven for 15 minutes. Refer to the baking instructions on the back of the package of polymer clay for exact baking times.

STEP THREE
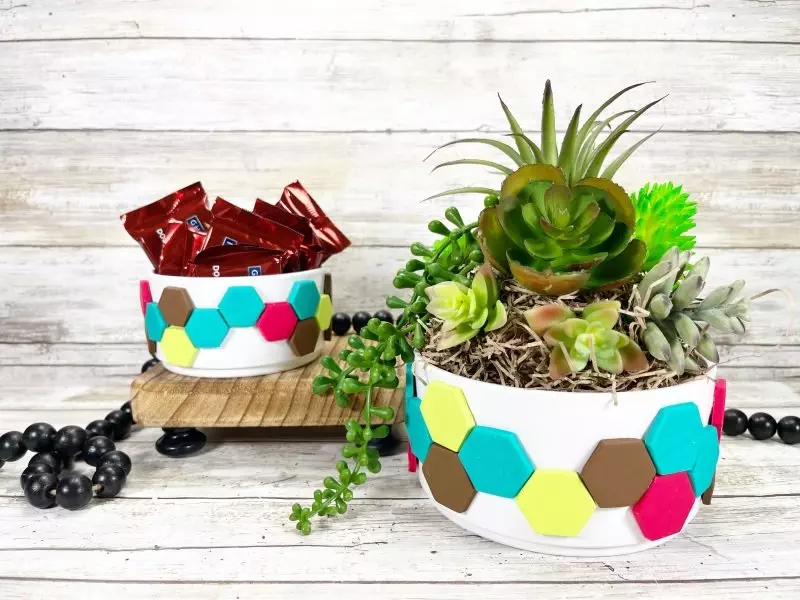
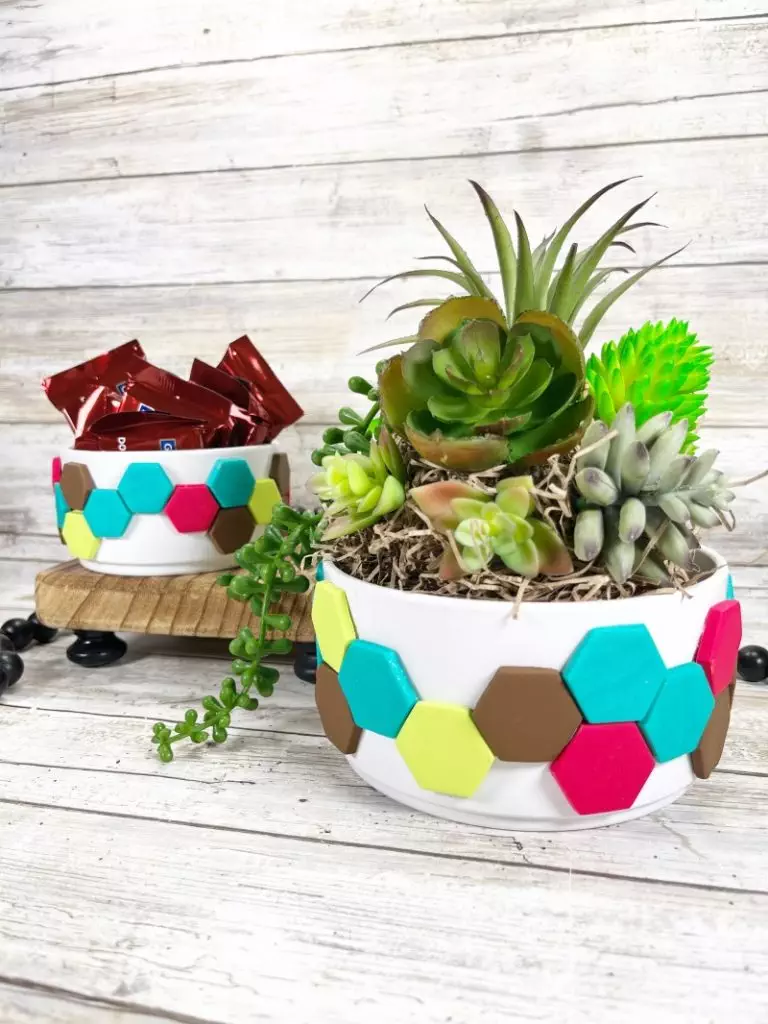
Lay out the polymer clay hexagon tiles in the pattern of your choice. These plastic cereal and serving bowls from Target were the perfect size for the hexagon tiles. Get creative with colors and shapes. Make sure to wash and thoroughly dry the plastic bowls.

STEP FOUR
Apply E6000 PREMIUM to the plastic bowl and to the back of the polymer clay tile. Let set for about 2 minutes, then attach both surfaces together. This application process will provide the best adhesion. Continue to apply the small hexagon tiles around the outside edge of the small plastic container.

STEP FIVE
Repeat the above steps with the large hexagon tiles around the outside of the larger plastic serving dish. I love that these tiles did not slip and slide around the circular surface of the bowls. The E6000 PREMIUM provides a fast grip that is permanent once cured.

Home Decor Embellished with Polymer Clay
When using E6000 PREMIUM, all surfaces should be clean, dry, and free of dirt. For best results, lightly roughen super smooth surfaces before use. Apply directly to each surface to be bonded. Allow to partially cure, approximately 2 minutes, before mating surfaces. Allow 24 hours for curing. For future easy cap removal, apply a thin coat of petroleum jelly to the threads of the tube before replacing the cap. E6000 PREMIUM is not recommended for use on Styrofoam™ or paper products. Not recommended for any items that come into contact with food, drinking water, or animals.


Create an adorable Upcycled Mason Jar Football Dish with instructions from Laura at Me and My INKlings using E6000 Premium Adhesive and a few simple supplies.

Sharing is Caring! If you LOVE it, Please PIN it!
Are you too busy to make these Polymer Clay Hexagon Embellished Containers right now? Pin it for later! I'd love for you to pin this project to your favorite craft board on Pinterest and then it’ll be waiting for you when you’re ready.

I'd love to hear what you think about this project, or if you want to know more about E6000 Premium Adhesive. If you've made your own Home Decor projects, I would love to see your creations! Share them on Instagram, and Facebook, or leave a comment/photo on the project pin on Pinterest! #CreativelyBeth


Thanks for stopping by!
