Easy Embroidery Project Ideas for Beginners and Organizing Supplies
Today I am going to share four Easy Embroidery Project Ideas for Beginners scroll down to see my amazing organizing tips and tricks! Do you have someone in your life you can attribute all of your craftiness to? I do! It was my Gran, my Mom's Mom. She lived with us until I was in the eighth grade and she taught me all the basic skills of sewing, cross-stitch, and of course, embroidery. Now, this was the 70's so we also did a lot of macrame and decoupage. My Gran was definitely the OG Crafter. Recently my twenty-something niece asked me to help her with some embroidery basics, I guess everything old is new again!

Four Beginner Embroidery Project Ideas

This post, Four Easy Embroidery Project Ideas and how to Organize Supplies, contains affiliate links. Using links to these sites means I will earn a percentage of the purchase at no extra cost to you.

Here's what you need to get started with Easy Embroidery Project Ideas:
- Embroidery Hoops – I prefer wooden ones
- Embroidery Floss
- Pearle Cotton Spools
- Pearle Cotton Skeins
- Embroidery Needles
- Needle Threader – this one is a must!
- Scissors – I love my Fiskars
- Cotton Fabric Fat Quarters – pick a fun print
- Muslin Fabric – I love the look of natural muslin
- Kunin Felt Craft Cuts
- Stamps and Stamping Ink
Like many of you, I am a collector of craft projects and this is what the drawer with all of my embroidery supplies looks like. YIKES! A bunch of zipper bags with projects started but none actually finished. I separated out the items that I didn't need and sent them to my niece. She was interested to learn embroidery, so we had a facetime call and I walked her through the basics. It was a fun time! Below I am sharing Four Easy Embroidery Project Ideas to inspire your creativity!

Here's how to create Four Easy Embroidery Projects for Beginners:

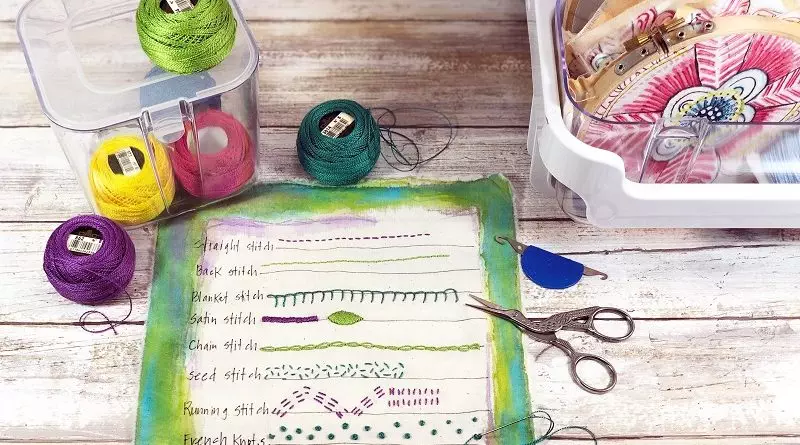
Project One – A Stitch Sampler
The stitch sampler is my recommendation on the best way to begin your embroidery journey. It will give you hands-on experience with basic stitches as well as be a reference guide for future projects. I highly recommend this Embroidery Tips post by Bev over at Flamingo Toes, she is my go-to for all things stitched. And this Heart and Home Sampler is a great project for beginners. I took this class from Bev at the Snap Conference and it renewed my interest in embroidery.

Project Two – Stitched Felt Ornaments
Felt is an easy and forgiving medium that is sturdy and won't fray. Cut these bright colors of Kunin Felt into basic shapes, then layer, and then join together with a variety of fun and quirky stitches. Perfection is not a goal with this project, but rather let the rustic nature of the felt and embroidery shine through. Stephanie Ackerman has a great tutorial for Stitching with Felt and using what you have over on her blog Homegrown Hospitality.

Project Three – Stamping & Stitching
Use the stamps you already have in your stash and re-purpose them into embroidery patterns with archival ink and simple muslin. Add a variety of bright and colored embroidery floss stitches and create a fun bookmark or add a decorative accent to a favorite piece of clothing or card. Stephanie has beautiful examples of this process in a blog post What Does Stitching Have To Do With It? and I have learned these techniques from her in classes over the years.

Project Four – Painting & Stitching
The inspiration for this project came from one of my artsy heroes Joanne Sharpe and her online class Paint, Stitch, Play. Painting on muslin and then adding bright and colorful stitches to enhance and compliment the composition. The perfect way to relax and be creative! I was lucky enough to take this class in person with Joanne and now I am hooked.

Organizing all your Embroidery Supplies with Deflecto!
See those Easy Embroidery Project Ideas above that were started and not finished? Are your supplies in plastic bags, drawers, and spread out all over the house? If so, I can relate. Let's get organized!

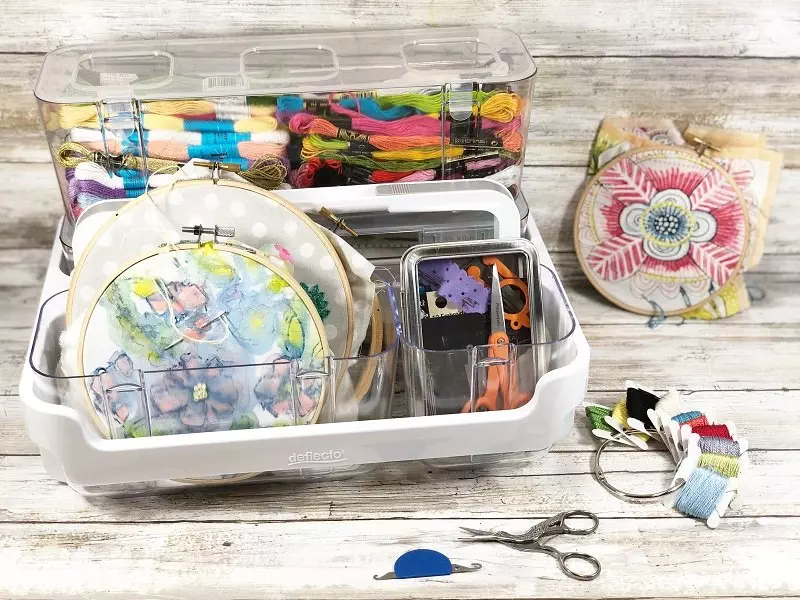
My secret solution? The Stackable Caddy Organizer from Deflecto is a game-changer to keep all my embroidery supplies organized and handy.

Each Caddy comes with three clear storage containers in small, medium, and large sizes with snap-tight lids that can be easily removed for bulky items like embroidery hoops.

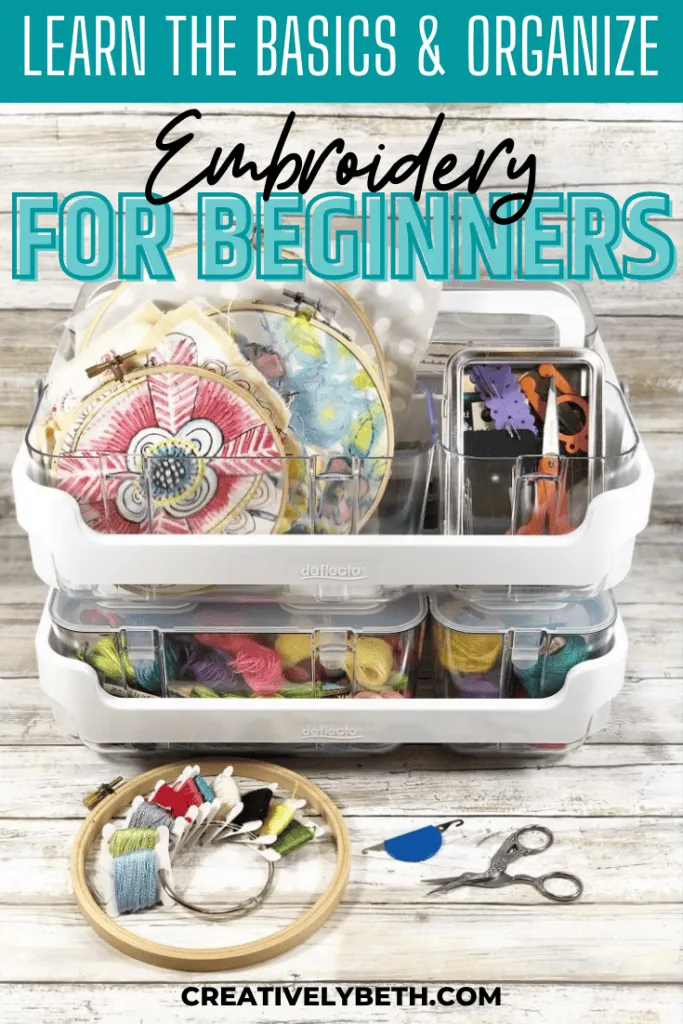
The Caddys easily stack together and then…

lock, so now all of my embroidery supplies have their own portable home. I love stitching while I watch television, so now I just grab my Stackable Caddy Organizer and let the creativity flow!


Easy Embroidery Storage
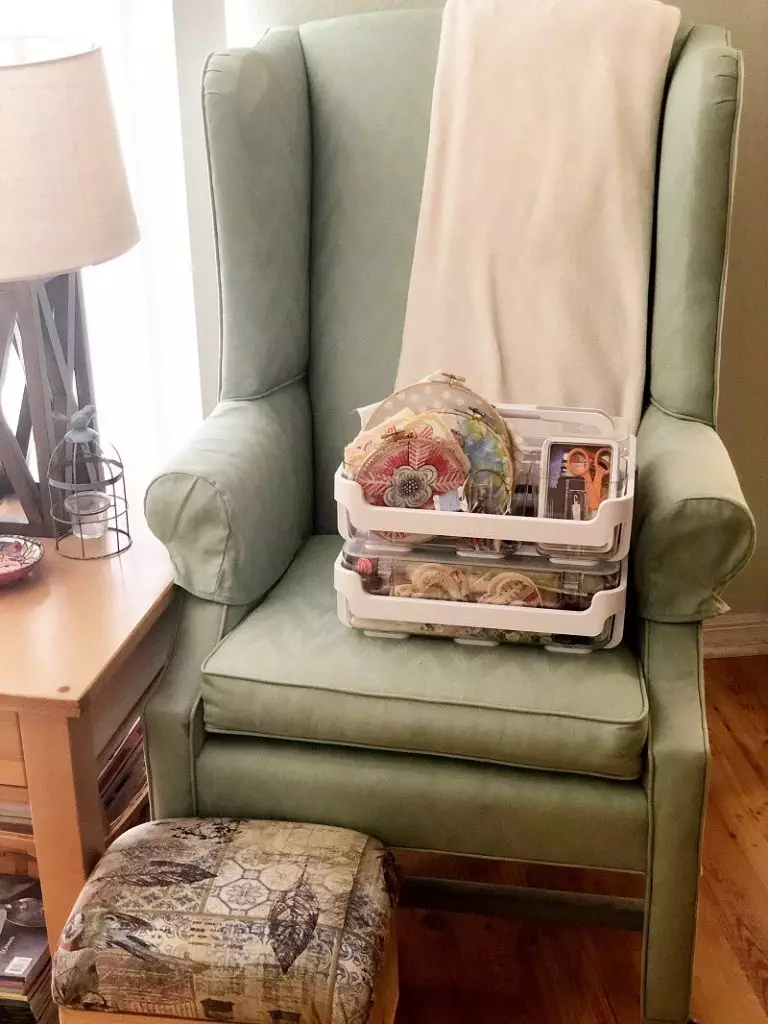
Well, now that I have all of my Embroidery Supplies neatly arranged in the portable Stackable Caddy Organizer from Deflecto, I can take my stitching with me where ever I go, like from my studio to my couch! This caddy is perfect for organizing so many different things. Think of all the kid's craft materials, baking supplies, or even make-up storage in the bathroom. The possibilities are endless!

I hope that you have found this post, Four Easy Embroidery Project Ideas for Beginners inspiring and helpful to get those creative and organizational juices flowing! If you enjoyed these tips I shared here then click over to my post Color a Rainbow of Feelings with a FREE Printable and see how I organized my Tombow Markers!

Learn how to Create Rainbow Cards of Encouragement. Most of you know that RAINBOW is my favorite color, so I grabbed my Tombow Dual Brush Pen Bright 10 Pack and made my own rainbow papers. I then cut up those papers in a variety of shapes. I can't wait to get these in the mail to brighten the day for my friends and family.

Download these Free Printable Craft Project Planner pages to help you keep track of all of your projects and DIYs. This printable planner helps with planning out the materials you have and need. Never over-buy or under-prepare again when you use these Craft Project Planner printable sheets. And I don't know about you, but I need all the help I can get!

Sharing is Caring!
Too busy to make these Easy Embroidery Projects right now? Pin it for later! I'd love for you to pin this project to your favorite craft board on Pinterest and then it’ll be waiting for you when you’re ready.


Thanks for stopping by!


